How to make a login with Discord button using JavaScript (Express)
Video Tutorial
Getting Started
I made a CSS stylesheet using tailwind that is included in the source files. Additionally, I made two pages: index.html, and dashboard.html, which will serve to direct the user to login with discord, and then show them their logged in state.
Additionally, the "server" is handled using express js.
Coding
Installing Dependencies
Luckily, we only need express js for this project. A real project would be more complex and need a few more things, but we will build off of this.
npm install expressStarter HTML
First, we will make an index.html (home page)
<!doctype html>
<html>
<head>
  <meta charset="UTF-8">
  <meta name="viewport" content="width=device-width, initial-scale=1.0">
  <base href="/">
  <link rel="stylesheet" type="text/css" href="output.css" >
  <link rel="stylesheet" href="https://cdnjs.cloudflare.com/ajax/libs/font-awesome/6.1.1/css/all.min.css" integrity="sha512-KfkfwYDsLkIlwQp6LFnl8zNdLGxu9YAA1QvwINks4PhcElQSvqcyVLLD9aMhXd13uQjoXtEKNosOWaZqXgel0g==" crossorigin="anonymous" referrerpolicy="no-referrer" />
</head>
<body>
    <div class="flex items-center justify-center h-screen bg-discord-gray text-white" >
        <a id="login" href="#discord_token_link" class="bg-discord-blue  text-xl px-5 py-3 rounded-md font-bold flex items-center space-x-4 hover:bg-gray-600 transition duration-75">
            <i class="fa-brands fa-discord text-2xl"></i>
            <span>Login with Discord</span>
        </a>
    </div>
</body>
</html>
Next, we will make a dashboard.html (logged in page)
<!doctype html>
<html>
<head>
  <meta charset="UTF-8">
  <meta name="viewport" content="width=device-width, initial-scale=1.0">
  <base href="/">
  <link rel="stylesheet" type="text/css" href="output.css" >
  <link rel="stylesheet" href="https://cdnjs.cloudflare.com/ajax/libs/font-awesome/6.1.1/css/all.min.css" integrity="sha512-KfkfwYDsLkIlwQp6LFnl8zNdLGxu9YAA1QvwINks4PhcElQSvqcyVLLD9aMhXd13uQjoXtEKNosOWaZqXgel0g==" crossorigin="anonymous" referrerpolicy="no-referrer" />
</head>
<body>
    <div class="flex items-center justify-center h-screen bg-discord-gray text-white flex-col">
        <div class="text-2xl">Welcome to the dashboard,</div>
        <div class="text-4xl mt-3 flex items-center font-medium" >
            <img src='' id="avatar" class="rounded-full w-12 h-12 mr-3"/>
            <div id="name"></div>
        </div>
        <a href="/" class="text-sm mt-5">Logout</a>
    </div>
</body>
</html>
Don't worry about the style sheet not loading. We will fix this using express routing to allow static files to show up
Express Server Setup
Create an index.js file and initialize express js.
const path = require('path');
const express = require('express');


const app = express();
We will also use a public folder to serve our static output.css file, so create that directory, add your css in there and add this line to your code
app.use('',express.static(path.join(__dirname, 'public')));Next, we will add two routes, one for our default that will route to index, and the other for the logged in state when we go through the /auth/discord route
app.get('/', (request, response) => {
	return response.sendFile('index.html', { root: '.' });
});

app.get('/auth/discord', (request, response) => {
	return response.sendFile('dashboard.html', { root: '.' });
});
We will be serving those files respectively,
Finally, specify which port your server will run on, and start your server.
const port = '53134';
app.listen(port, () => console.log(`App listening at http://localhost:${port}`));
We should be able to navigate through to our index page if we visit the url: http://localhost:53134/
Creating a redirect:
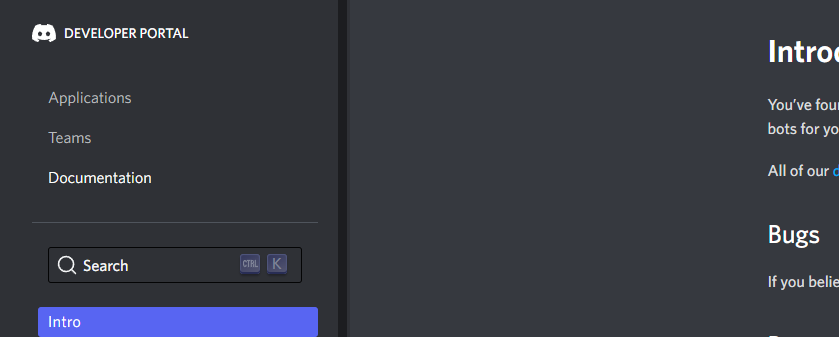
Head on over to the discord developer portal and go to applications:
From there, create a new application
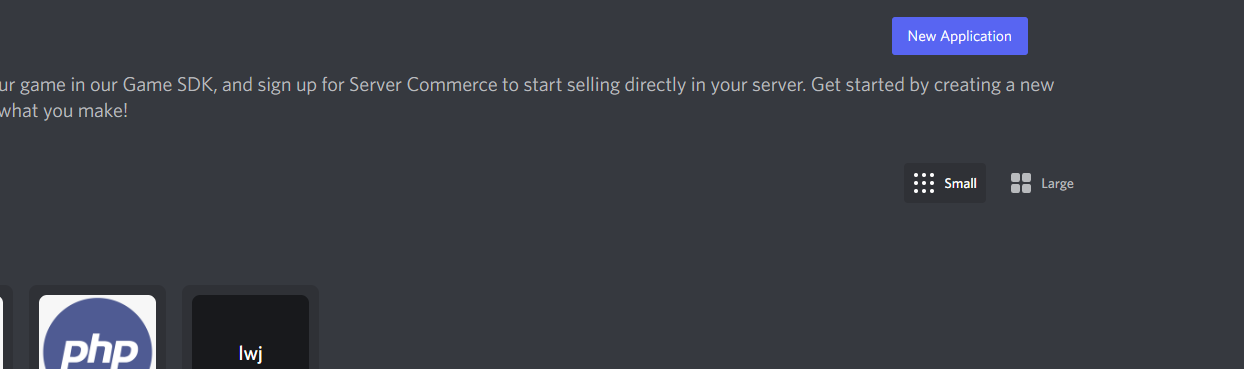
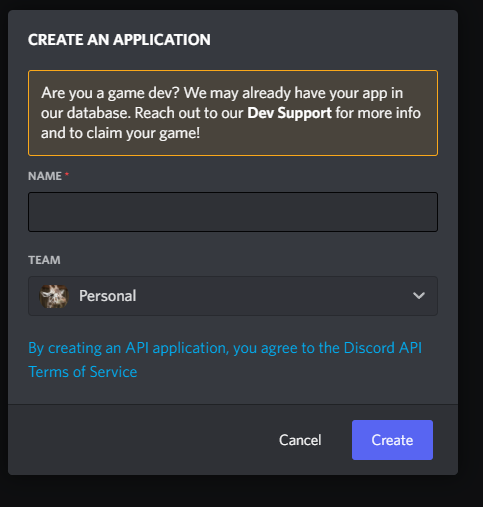
Specify a name
Once created, click on OAuth2 on the side and select "General"
Adding a redirect
Add the following redirect which corresponds to your local host server, and the path that we want express to route from:
http://localhost:53134/auth/discord
Getting a redirect url
Next, we can use discord to generate us a redirect url, by selecting identity and generating a dynamic url from one of our redirects
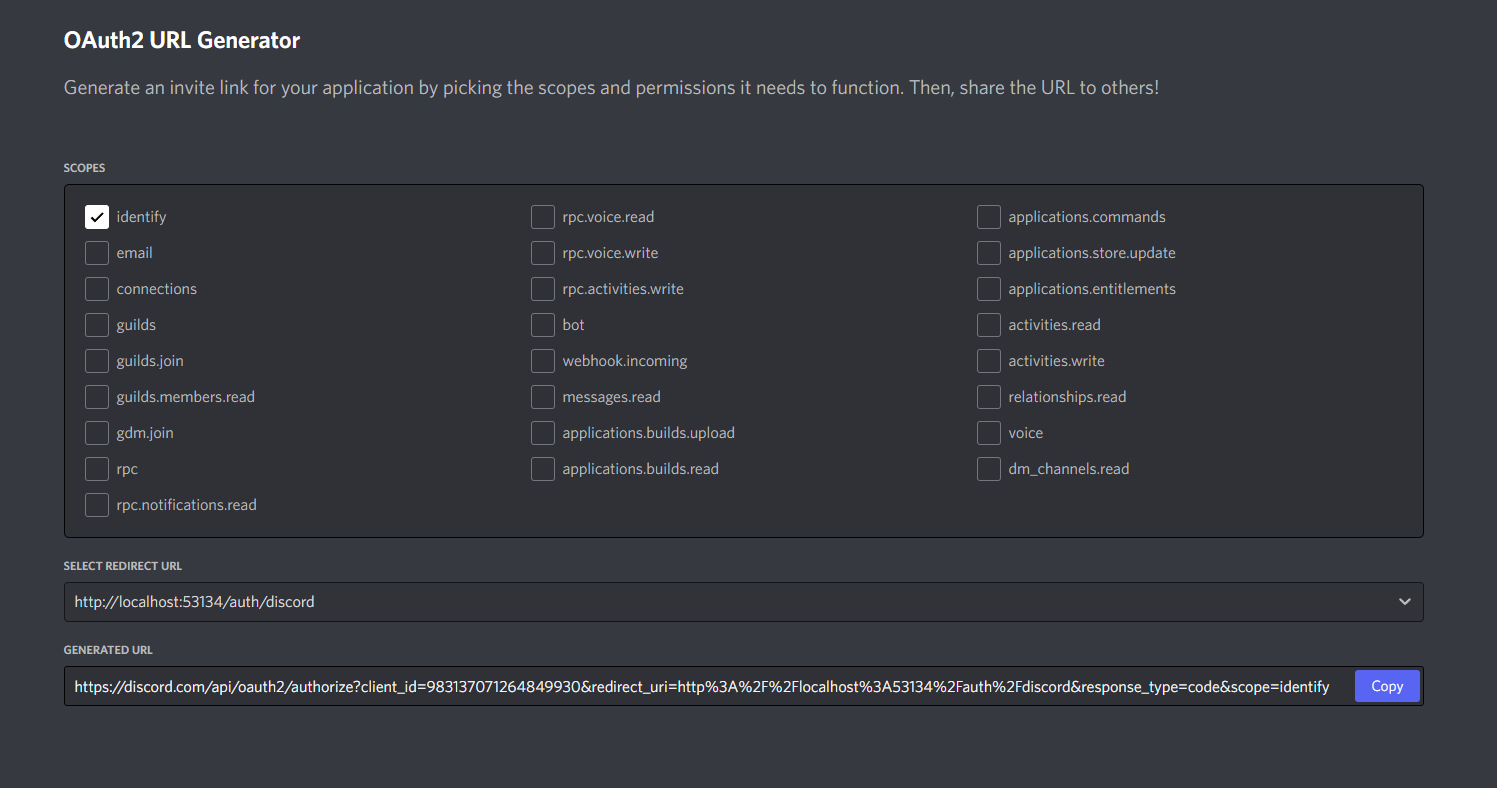
Copy that url, and paste it into your index.html anchor tag
Make sure to change &response_type=code to &response_type=token
Handling our response and auth code:
We will deconstruct the get parameters sent to us onload, and redirect the user back to the index screen if they didn't pass them
window.onload = () => {
const fragment = new URLSearchParams(window.location.hash.slice(1));
const [accessToken, tokenType] = [fragment.get('access_token'), fragment.get('token_type')];

if (!accessToken) {
    window.location.href('/')
    return (document.getElementById('login').style.display = 'block');
}


};
Next, we will handle fetching the data about the user by passing an auth bearer header to discord, and receiving data back about the user
fetch('https://discord.com/api/users/@me', {
    headers: {
        authorization: `${tokenType} ${accessToken}`,
    },
})
.then(result => result.json())
.then(response => {
    //handle response
})
.catch(console.error);
Finally, we will change our DOM html to reflect the new data we just received, and we are done!
const { username, discriminator, avatar, id} = response;
//set the welcome username string
document.getElementById('name').innerText = ` ${username}#${discriminator}`;

//set the avatar image by constructing a url to access discord's cdn
document.getElementById("avatar").src = `https://cdn.discordapp.com/avatars/${id}/${avatar}.jpg`;